
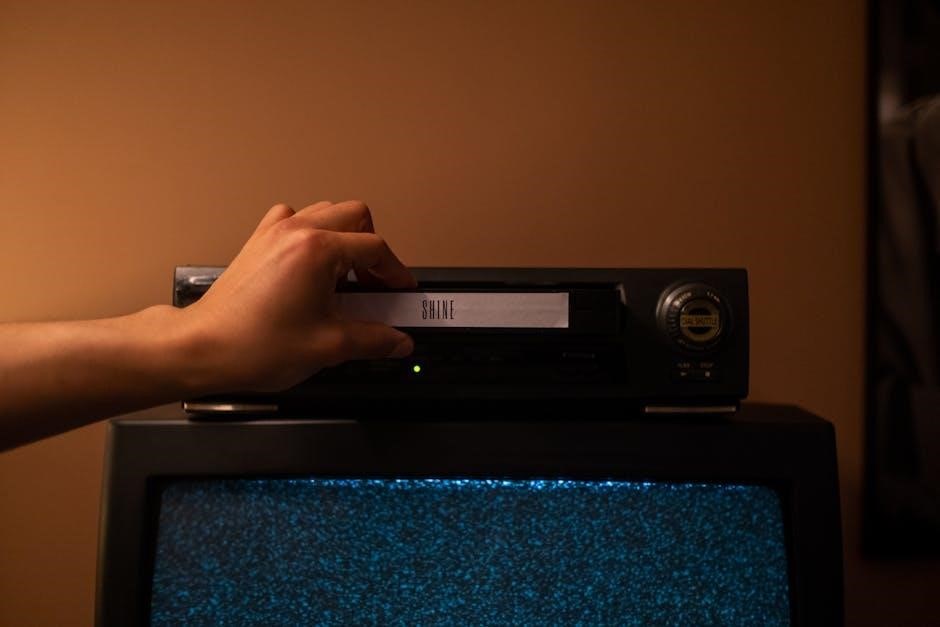
The Dual XDVD269BT is a multimedia receiver with a 6.2-inch touch screen‚ Bluetooth connectivity‚ and DVD playback capabilities‚ designed for in-car entertainment and convenience.
Safety Precautions
The Dual XDVD269BT features a safety mechanism that disables DVD video playback while the vehicle is moving to minimize driver distraction. Always park your vehicle before using DVD functions. Proper installation is essential to avoid electrical hazards. Handle the unit with care‚ as improper handling may damage the screen or internal components. Never operate the device while driving‚ as it may cause accidents. Refer to the manual for additional safety guidelines to ensure safe and proper usage of the system.
Installation Guide
Ensure proper installation by connecting the wiring harness to your vehicle’s electrical system. Mount the unit securely in the dash and connect power and ground wires. Consult the manual for detailed steps to avoid electrical issues and ensure optimal performance.
3.1 Hardware Requirements
For the XDVD269BT installation‚ ensure your vehicle has a Double DIN slot. Required hardware includes a wiring harness‚ mounting kit‚ and power/ground cables. Additional accessories like a backup camera or steering wheel control interface may be needed for full functionality. Always match the wiring to your vehicle’s specifications to avoid electrical issues. Consult the manual for compatibility details and installation guidelines. Proper tools like screwdrivers and wire strippers are essential for a smooth setup.
3.2 Wiring Diagram
The wiring diagram outlines the connections for the XDVD269BT. Ensure the power wire is connected to the vehicle’s ignition‚ and the ground wire to a metal chassis. The speaker wires should be matched to the vehicle’s speaker system. The USB and AUX inputs connect to the respective ports. Optional connections include backup camera and steering wheel controls. Refer to the diagram for specific wire color codes and connections. Always double-check wiring to avoid electrical damage or malfunctions during installation.
3.3 Mounting the Unit
Mounting the XDVD269BT requires careful planning to ensure a secure and stable installation. Begin by selecting a compatible mounting kit for your vehicle‚ ensuring it fits the double DIN slot. Remove the trim and dashboard components to access the mounting area. Secure the unit using the provided screws‚ making sure it is level and firmly attached. Connect all wiring harnesses to the appropriate ports‚ following the wiring diagram. Test the unit to ensure proper function before reassembling the dashboard. A secure installation prevents damage and ensures reliable performance.

Features Overview
The XDVD269BT features a 6.2-inch touch screen‚ Bluetooth connectivity‚ DVD/CD playback‚ and compatibility with Siri and Google Assistant for enhanced in-car entertainment and convenience.
4.1 Touch Screen Interface
The XDVD269BT boasts a responsive 6.2-inch touch screen interface‚ providing easy navigation through menus‚ media playback‚ and settings. The intuitive design allows users to access features like Bluetooth connectivity‚ DVD playback‚ and audio adjustments with just a few taps. The vibrant display ensures clear visibility‚ even in varying lighting conditions‚ making it a user-friendly option for in-car entertainment and control.
4.2 Bluetooth Connectivity
The XDVD269BT features built-in Bluetooth technology‚ enabling seamless wireless connectivity to smartphones or other compatible devices. Users can stream audio‚ make hands-free calls‚ and access voice assistants like Siri or Google Assistant. The system supports Bluetooth pairing for reliable and high-quality wireless connections‚ ensuring uninterrupted entertainment and communication on the go. This feature enhances convenience and safety‚ allowing drivers to stay connected without distractions.
4.3 Audio/Video Playback
The XDVD269BT supports high-quality audio and video playback‚ including CD‚ DVD‚ MP3‚ WMA‚ and AVI formats; It features a 6.2-inch touch screen display for clear video output and rear camera compatibility for enhanced safety. The unit also includes auxiliary inputs and USB ports for connecting external devices‚ ensuring versatile media playback options. With built-in equalization settings‚ users can customize their audio experience‚ making it a comprehensive entertainment solution for any vehicle.

Operating the Device
The XDVD269BT is operated via its intuitive touch screen interface or remote control‚ allowing users to navigate through menus and access various features seamlessly for optimal functionality.
5.1 Navigating the Interface
Navigating the XDVD269BT’s interface is straightforward. Use the touch screen to access the home screen‚ where icons for sources like Bluetooth‚ USB‚ and AUX are displayed. Tap an icon to select it. Swipe left or right to browse through menus. Press and hold to access additional options. The interface is intuitive‚ allowing easy access to features like AM/FM radio‚ playback controls‚ and settings. Voice activation can also be used to switch modes‚ enhancing user convenience.
5.2 Using the Remote Control
The remote control provides convenient operation of the XDVD269BT. Use it to adjust volume‚ skip tracks‚ or switch between sources like Bluetooth‚ USB‚ or AUX. The remote is infrared‚ so ensure it has a clear line of sight to the unit. Press the corresponding buttons to navigate menus or activate features like voice activation. The remote is compatible with all the unit’s functions‚ allowing seamless control from anywhere in the vehicle. Always aim the remote directly at the unit for optimal responsiveness.
5.3 Accessing the Main Menu
To access the main menu‚ press the “Menu” button on the remote or touch the “Menu” icon on the touch screen. This will display settings and options for customizing your experience. Use the remote or touch screen to navigate through submenus‚ such as audio settings‚ display preferences‚ or connectivity options. Select “Back” to return to the previous screen or press “Home” to exit the menu and return to the main interface. Ensure all settings are saved before exiting.

Troubleshooting Common Issues
The troubleshooting section addresses common issues such as audio playback problems‚ Bluetooth connectivity‚ and navigation difficulties. Refer to the manual for step-by-step solutions and guidance.
6.1 Common Issues and Solutions
Common issues with the XDVD269BT include no power‚ no sound‚ or Bluetooth pairing problems. For no power‚ check wiring connections and ensure the ignition is on. For no sound‚ verify volume levels and audio source settings. Bluetooth issues may require resetting the device or re-pairing the smartphone. Screen freezing can be resolved by restarting the unit. Refer to the manual for detailed troubleshooting steps and solutions to restore functionality efficiently.
6.2 Resetting the Unit
Resetting the XDVD269BT can resolve persistent issues. To reset‚ navigate to the Main Menu‚ select ‘Settings‚’ then ‘System‚’ and choose ‘Reset’ or ‘Factory Reset.’ Confirm the action when prompted. Some models may require holding the Power button for 10 seconds or using a combination like Menu + Power. A master reset may need a default password (e.g.‚ ‘0000’). After resetting‚ the unit will restart and revert to factory settings‚ requiring you to reconfigure preferences.

Technical Specifications
The XDVD269BT features a 6.2-inch touchscreen‚ Bluetooth connectivity‚ DVD/CD playback‚ and AM/FM radio. It supports USB‚ AUX‚ and microSD inputs‚ with RCA pre-amp outputs for enhanced audio.
7.1 Display Specifications
The XDVD269BT features a 6.2-inch high-resolution touchscreen display with 800×480 pixels. It supports a 16:9 aspect ratio for widescreen content. The resistive touchscreen ensures precise control‚ while the anti-glare coating enhances visibility. The display offers adjustable brightness and RGB color settings for personalized viewing. It is designed for clear visuals during both day and night driving‚ with wide viewing angles for optimal passenger enjoyment. The screen is resistant to fingerprints and smudges‚ ensuring a sleek appearance.
7.2 Audio Features
The XDVD269BT supports high-quality audio playback with compatibility for MP3‚ WMA‚ and FLAC formats. It features a built-in 17W RMS amplifier with 50W peak power for clear sound. A 7-band graphic equalizer allows customization of sound settings. Bluetooth streaming enables wireless audio playback from smartphones. The unit also supports auxiliary inputs and RCA pre-outs for enhanced connectivity. Preset EQ settings like Rock‚ Pop‚ and Jazz optimize listening experiences. The system ensures a dynamic and immersive audio experience for all music lovers.
7.3 Compatibility
The XDVD269BT is compatible with a wide range of devices and formats‚ ensuring versatile connectivity. It supports Bluetooth-enabled smartphones and audio devices‚ allowing wireless streaming. The unit is compatible with MP3‚ WMA‚ and FLAC audio formats‚ as well as MPEG-4 video files. It also works seamlessly with USB drives‚ microSD cards‚ and AUX inputs. Additionally‚ the receiver is compatible with both iOS and Android systems‚ enabling integration with Siri and Google Assistant for voice commands. This ensures a smooth and connected entertainment experience.

Firmware Updates
The XDVD269BT supports firmware updates to enhance performance and add new features. Regularly check for updates via the settings menu or the manufacturer’s website to ensure optimal functionality.
8.1 Checking for Updates
To ensure your XDVD269BT operates at its best‚ regularly check for firmware updates. Navigate to the Settings menu‚ then select System or Software Update. The unit will automatically search for available updates. If an update is found‚ follow the on-screen instructions to download and install it. Updates may improve functionality‚ add features‚ or enhance compatibility. Always connect to a stable internet connection during the update process to avoid interruptions. Refer to the manual for detailed steps if needed.
8.2 Installing Updates
Installing updates on your XDVD269BT is straightforward. Once an update is downloaded‚ the system will prompt you to begin installation. Ensure your vehicle is parked and the ignition is in the accessory mode. Select Install Update and follow on-screen instructions. Do not turn off the unit or disconnect power during the process. The system will reboot automatically after installation. Allow the update to complete without interruption to ensure proper installation. Refer to the manual for additional guidance if issues arise during the process.

Maintenance Tips
Regularly clean the screen with a soft cloth to maintain clarity. Avoid harsh chemicals to prevent damage. Ensure firmware is up-to-date for optimal performance and security.
9.1 Cleaning the Screen
To maintain the XDVD269BT’s touch screen clarity‚ clean it regularly with a soft‚ dry cloth. Avoid harsh chemicals‚ abrasive materials‚ or excessive moisture. For stubborn smudges‚ dampen a microfiber cloth with distilled water‚ gently wipe the screen‚ and let it air dry. Ensure the screen is cool and turned off before cleaning to prevent damage or streaks. Regular cleaning enhances responsiveness and visibility‚ ensuring optimal performance.
9;2 Updating Software
Regular software updates ensure the XDVD269BT operates at peak performance. To update‚ connect the unit to a computer via USB and visit the official Dual Electronics website. Download the latest firmware‚ transfer it to a USB drive‚ and insert it into the device. Navigate to the Settings menu‚ select “Firmware Update‚” and follow on-screen instructions. Ensure the vehicle is parked and ignition is on during the update to avoid interruptions. This keeps your system current with new features and improvements.

Accessories and Add-Ons
Essential accessories for the XDVD269BT include wiring harnesses‚ touch screen protectors‚ and backup cameras‚ enhancing functionality and ensuring proper installation for optimal performance and convenience.
10.1 Recommended Accessories
To enhance your XDVD269BT experience‚ consider essential accessories like a wiring harness for seamless installation‚ a touch screen protector for durability‚ and a backup camera for improved safety. Additional recommendations include a Bluetooth microphone for clearer calls and a USB extension cable for convenient connectivity. These accessories ensure optimal performance and convenience‚ tailored to your in-car entertainment needs.
10.2 Installation of Accessories
Installation of accessories for the XDVD269BT should be done carefully to ensure proper functionality. Start by connecting the wiring harness to the unit‚ following the diagram provided in the manual. For backup cameras‚ mount the camera in a visible location and connect its video and power cables. Bluetooth microphones should be installed in an area with clear audio reception‚ while USB extension cables can be routed to convenient access points. Always power off the unit before starting installation and consult the manual for specific instructions. If unsure‚ seek professional assistance.